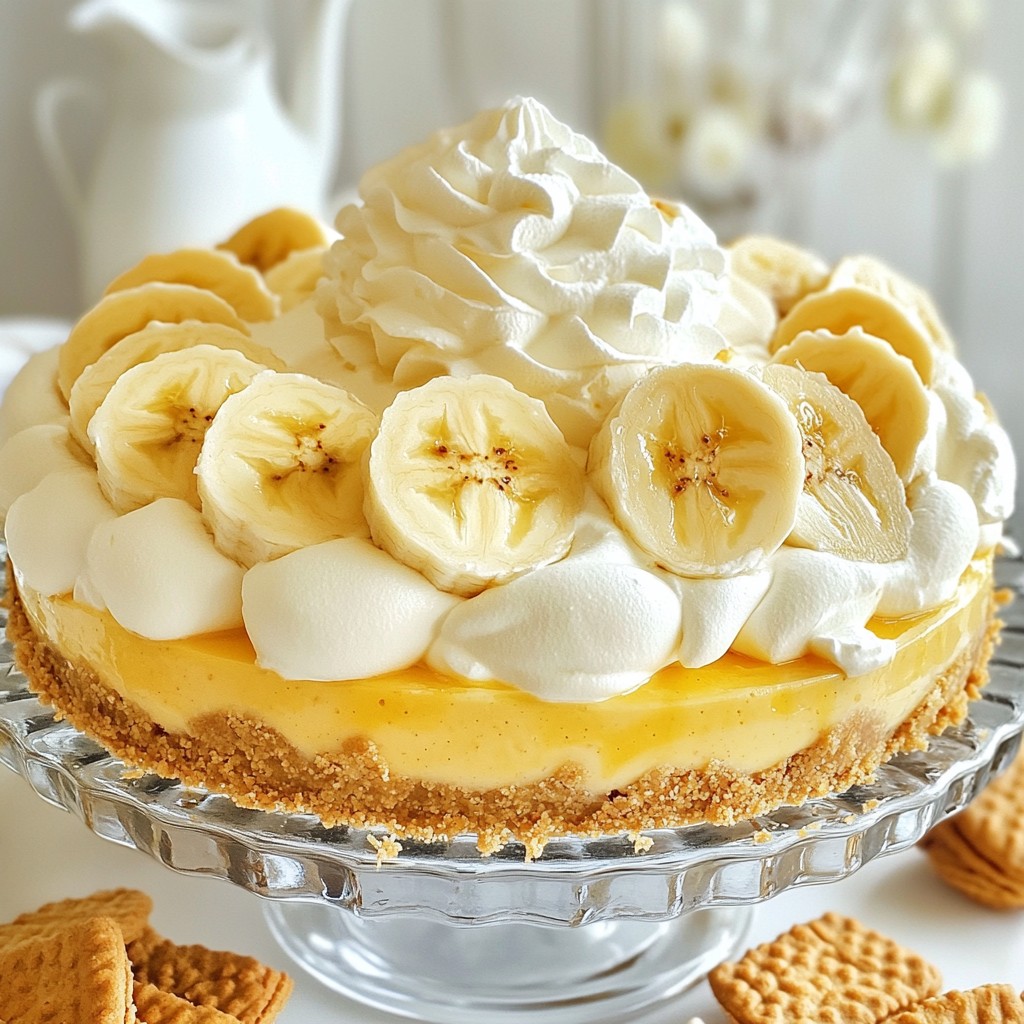
Looking for a delicious way to impress guests? You'll love my Classic Banana Cream Pie with a tasty Nilla Wafer crust! This sweet treat combines creamy pudding, fresh bananas, and whipped cream for a dessert that never fails to wow. Plus, it’s simple to make. Join me as I guide you through the ingredients, step-by-step instructions, and helpful tips for creating the perfect pie. Let's get started!
Why I Love This Recipe
- Deliciously Creamy: This pie features a rich and creamy pudding filling that perfectly complements the sweet bananas, making each bite a delightful experience.
- Easy to Make: With simple ingredients and straightforward steps, this recipe is accessible for bakers of all skill levels, ensuring success every time.
- Perfect for Any Occasion: Whether it's a family gathering, birthday party, or a cozy night in, this pie is sure to impress and satisfy everyone.
- Beautiful Presentation: The layers of banana slices, creamy pudding, and fluffy whipped cream make this pie not only delicious but also visually appealing.
Ingredients
Key Ingredients for Nilla Wafer Crust
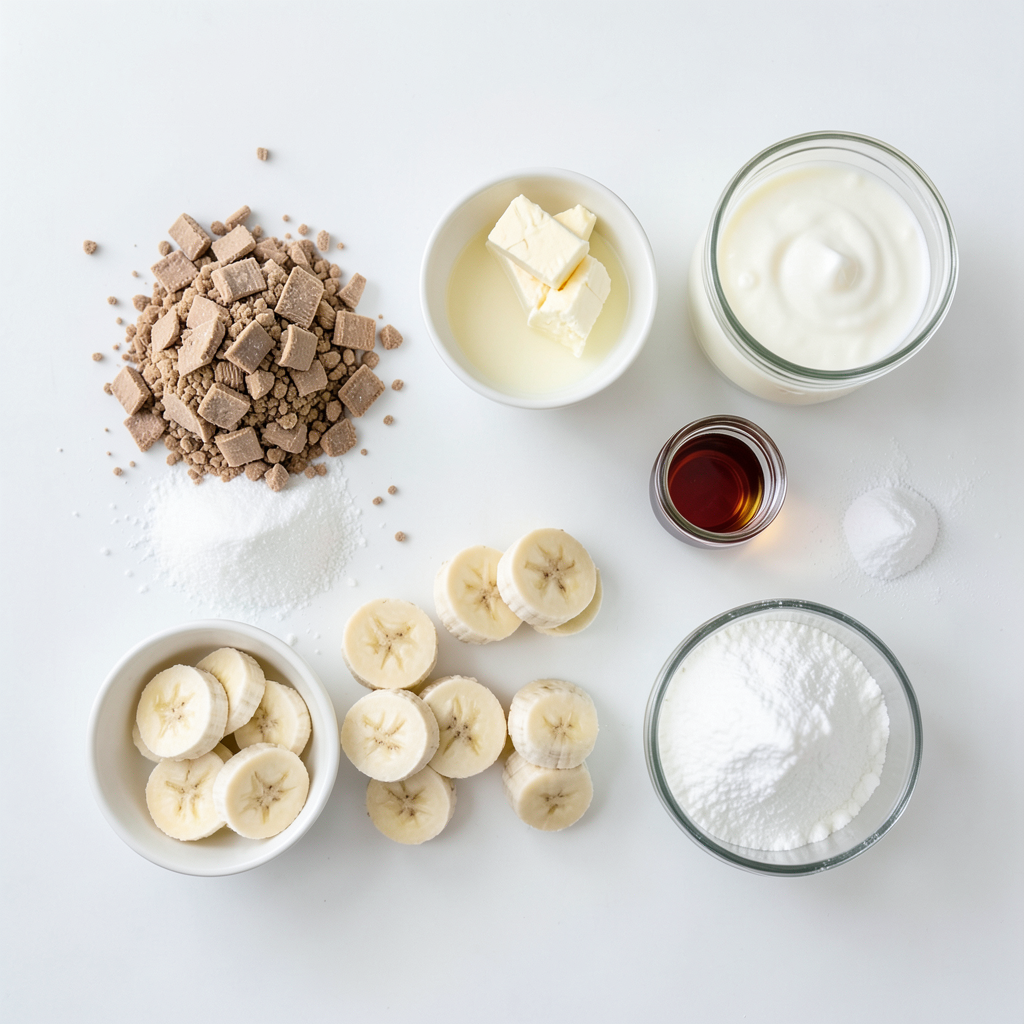
To make the crust, you need a few simple items. Here are the key ingredients:
- 1 ½ cups Nilla wafers, crushed
- 1/3 cup granulated sugar
- 1/4 cup unsalted butter, melted
The Nilla wafers give the crust a sweet and crunchy base. The butter helps hold it together. Sugar adds a touch of sweetness, making every bite delightful.
Essential Ingredients for Pudding Filling
For the creamy pudding filling, gather these essential items:
- 2 medium ripe bananas, sliced
- 2 cups whole milk
- 1/2 cup granulated sugar
- 1/3 cup cornstarch
- 1/4 teaspoon salt
- 4 large egg yolks, lightly beaten
- 2 tablespoons unsalted butter
- 1 teaspoon vanilla extract
The bananas bring natural sweetness. Whole milk gives a rich, creamy texture. Cornstarch thickens the pudding, while egg yolks add richness and flavor.
Toppings and Garnishes
To make your pie extra special, consider these toppings:
- 1 cup heavy whipping cream
- 2 tablespoons powdered sugar
- Additional banana slices
- Crumbled Nilla wafers
Whipped cream adds a light finish. Extra banana slices and crumbled wafers make the pie look beautiful and inviting. Each element adds to the overall experience of the pie.
Step-by-Step Instructions
Preparing the Nilla Wafer Crust
To start, gather your Nilla wafers, sugar, and melted butter. In a medium bowl, mix 1 ½ cups of crushed Nilla wafers with 1/3 cup of granulated sugar. Pour in 1/4 cup of melted unsalted butter. Use a fork or your hands to combine everything until it looks crumbly. Press this mixture into a 9-inch pie dish firmly. Make sure it’s even on the bottom and up the sides. Bake it at 350°F for 10 minutes or until golden. Let it cool completely.
Making the Pudding Filling
Next, let’s make the pudding. In a medium saucepan, whisk together 2 cups of whole milk, 1/2 cup of sugar, 1/3 cup of cornstarch, and 1/4 teaspoon of salt. Heat this on medium, stirring often. Watch for it to thicken and bubble, which should take about 5-7 minutes, but do not let it boil.
Now, you need to temper the eggs. In a separate bowl, whisk 4 large egg yolks until smooth. Slowly add a small amount of the hot milk mixture to the yolks while stirring. This warms the yolks without cooking them. Then, pour this mixture back into the saucepan with the rest of the milk mixture. Cook it on medium heat, stirring often, until it thickens to a custard-like consistency. This should take 2-3 minutes. Once thick, remove it from heat and add 2 tablespoons of butter and 1 teaspoon of vanilla extract. Stir until smooth and let it cool slightly for about 10 minutes.
Assembling and Chilling the Pie
Now, it’s time to assemble. Slice 2 medium ripe bananas and lay them evenly over your cooled crust. Pour the warm pudding mixture over the bananas. Use a spatula to smooth it out. Cover the pie with plastic wrap, pressing it onto the pudding to avoid a skin. Chill it in the fridge for at least 4 hours or until set.
Whipping the Cream for Topping
After the pie is set, let’s whip the cream. In a mixing bowl, add 1 cup of heavy whipping cream and 2 tablespoons of powdered sugar. Use a hand mixer or a whisk to beat it until soft peaks form. Be careful not to overbeat; you want it fluffy and light.
Serving Suggestions
Once the pie is chilled and set, spread the whipped cream on top. For a nice touch, add extra banana slices and crumbled Nilla wafers for garnish. Cut the pie into wedges and serve it cold. Each slice is a blissful treat!
Tips & Tricks
How to Perfect the Nilla Wafer Crust
To make the best Nilla wafer crust, start with fresh wafers. Crush them finely for an even texture. Mix them with sugar and melted butter until crumbly. Press the mixture firmly into a 9-inch pie dish. Bake it at 350°F for about 10 minutes. This step adds a nice golden color and helps the crust hold its shape. Let it cool completely before adding the filling. A well-baked crust makes a world of difference in taste.
Ensuring a Smooth Pudding Texture
For a smooth pudding, use whole milk and whisk often. Combine the milk, sugar, cornstarch, and salt in a saucepan. Heat it over medium heat, stirring until it thickens. Avoid boiling, as this can ruin the texture. When adding the egg yolks, pour a bit of the hot mixture into them first. This process is called tempering. It helps prevent the eggs from scrambling. Once mixed, return it to the pan. Stir until it thickens again. This method gives the pudding its rich, creamy texture.
Top Tips for Whipping Cream
Whipping cream should be cold for the best results. Start with heavy whipping cream and powdered sugar in a mixing bowl. Use a hand mixer or whisk to beat the cream. Stop when soft peaks form. Be careful not to overbeat, as this can turn it into butter. If you want a sweeter cream, add a bit more sugar. The whipped cream should be fluffy and light, making it the perfect topping for your pie.
Pro Tips
- Use Ripe Bananas: For the best flavor and sweetness, make sure to use ripe bananas with plenty of spots. They will enhance the overall taste of your pie.
- Prevent Browning: To avoid bananas turning brown, you can toss the slices in a little lemon juice before layering them in the pie.
- Chill the Pie Thoroughly: Allow the pie to chill for at least 4 hours to ensure the filling sets properly. Overnight chilling is even better for flavor development.
- Whip Cream Just Right: Watch your whipped cream closely while beating; stop when soft peaks form for the perfect texture. Overbeating can lead to a grainy consistency.
Variations
Alternative Crust Options
You can switch up the crust for your banana cream pie! Here are some fun ideas:
- Graham Cracker Crust: Use crushed graham crackers instead of Nilla wafers for a sweeter flavor.
- Chocolate Cookie Crust: Try a chocolate wafer crust for a rich taste.
- Oreo Crust: Crush Oreos and mix with butter for a bold, chocolatey twist.
- Nut Crust: For a gluten-free option, use ground almonds or pecans mixed with butter.
Flavor Variations for the Filling
You can customize the pudding filling too! Here are some tasty options:
- Chocolate Banana Cream Pie: Add cocoa powder to the pudding for a chocolatey touch.
- Coconut Cream Pie: Stir in shredded coconut to the pudding for a tropical vibe.
- Peanut Butter Banana Cream Pie: Mix in peanut butter for a nutty flavor that pairs well with banana.
- Caramel Banana Cream Pie: Drizzle caramel sauce over the bananas before adding the pudding for extra sweetness.
Creative Garnish Ideas
Garnishing adds flair to your pie! Here are some fun ways to finish it:
- Toasted Coconut: Sprinkle toasted coconut on top for crunch and flavor.
- Chocolate Shavings: Add chocolate curls for a rich, elegant look.
- Crushed Nuts: Use chopped walnuts or pecans for a nutty crunch.
- Fresh Mint Leaves: Top with mint leaves for a pop of color and freshness.
These variations let you put your own spin on the classic banana cream pie!
Storage Info
Best Practices for Storing Leftovers
To keep your banana cream pie fresh, store it in the fridge. Use an airtight container or cover it with plastic wrap. This helps to avoid drying out and keeps the whipped cream fluffy. Consume leftovers within three days for the best taste. If you have leftover bananas, add them just before serving to keep them fresh.
How to Freeze Banana Cream Pie
Freezing banana cream pie is possible, but it can change the texture. First, wrap the pie tightly in plastic wrap. Then, place it in a freezer-safe container. When you’re ready to enjoy it, thaw the pie in the fridge overnight. Note that the crust may become a bit soggy after freezing.
Shelf Life of the Pie
Fresh banana cream pie lasts about three days in the fridge. After that, the bananas may brown, and the pie may lose its overall quality. If frozen, it can last for up to two months. Always check for any signs of spoilage before eating. Enjoy your pie while it’s fresh for the best flavors!
FAQs
Can I use other types of cookies for the crust?
Yes, you can use other cookies for the crust. Graham crackers work well. You can also try chocolate cookies for a richer flavor. Just crush them and mix with butter and sugar. Press the mixture into your pie dish like you would with Nilla wafers.
How do I prevent bananas from browning in the pie?
To keep bananas fresh, coat them with lemon juice. This stops oxidation, which causes browning. You can also add the bananas just before serving. This way, they stay bright and appealing in your pie.
Is it possible to make this pie gluten-free?
Yes, you can make a gluten-free version. Use gluten-free cookies for the crust. Look for brands that are safe for your diet. The filling is already gluten-free, so you just need to swap the crust.
What can I use instead of heavy cream for the topping?
If you want a lighter option, use whipped coconut cream. It has a nice flavor and texture. You can also use Greek yogurt for a tangy twist. Just whip it up and spread it over the pie.
You’ve learned how to make a delicious Banana Cream Pie, from the crust to the toppings. The Nilla wafer crust gives great flavor, while the creamy pudding filling steals the show. You can customize the pie with different fillings and toppings. Store leftovers well to enjoy later. Keep these tips in mind for best results. With practice, you’ll impress everyone with your pie skills. Dive in and enjoy every bite of this classic dessert!