If you crave a taste of England, you’ve come to the right place. Here, I’ll share my delightful recipe for authentic English scones. They are easy to make, and perfect for tea time or any snack. We’ll explore essential ingredients, step-by-step instructions, and tips for perfect scones every time. Plus, I’ll share tasty variations to impress your friends. Let’s dive into the world of scones and bake something special!
Why I Love This Recipe
- Perfectly Fluffy Texture: These scones come out light and airy, making them the ideal treat for afternoon tea.
- Customizable Flavors: Add your favorite mix-ins like chocolate chips or nuts to create a unique twist on this classic recipe.
- Quick and Easy: With just 15 minutes of prep time, you can have fresh scones ready to enjoy in no time.
- Great Pairing for Tea: These scones complement any tea beautifully, especially when served with clotted cream and jam.
Ingredients
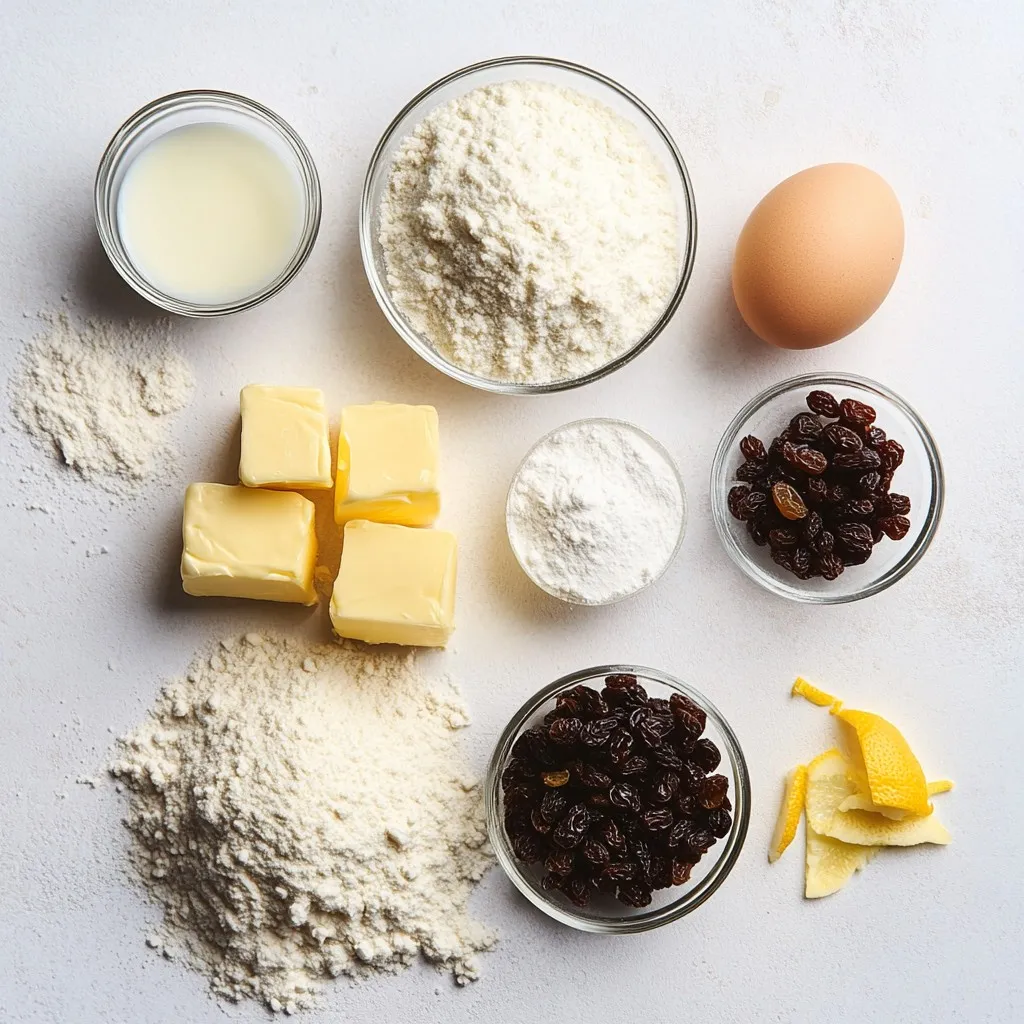
Essential Ingredients for Authentic English Scones
To make delightful English scones, you need a few simple items. Here is what you will need:
– 2 cups all-purpose flour
– 1/4 cup granulated sugar
– 1 tablespoon baking powder
– 1/2 teaspoon salt
– 1/2 cup unsalted butter, chilled and cut into small cubes
– 1/2 cup whole milk
– 1 large egg
These ingredients form the backbone of your scone. The flour provides structure, while the baking powder gives it lift. The sugar adds a touch of sweetness, and the butter keeps them tender.
Optional Flavor Enhancements
You can make your scones even better with a few extras. Consider these optional ingredients:
– 1/2 cup raisins or currants
– Zest of 1 lemon
Adding raisins or currants gives a sweet burst. The lemon zest adds a fresh twist that brightens the scones. You can mix and match these options based on your taste.
Importance of Ingredient Quality
Using high-quality ingredients is key to great scones. Fresh flour and butter make a big difference. Chilled butter helps create a flaky texture. Whole milk adds moisture and richness. When you choose good ingredients, your scones will taste better and impress everyone.
Remember, the heart of a good recipe lies in the ingredients you choose. Enjoy your baking!
Step-by-Step Instructions
Prepping Your Oven and Baking Sheet
Start by preheating your oven to 400°F (200°C). This step is key for a perfect bake. While the oven heats, line a baking sheet with parchment paper. This helps to keep the scones from sticking.
Mixing Dry Ingredients
In a large mixing bowl, sift together the following ingredients:
– 2 cups all-purpose flour
– 1/4 cup granulated sugar
– 1 tablespoon baking powder
– 1/2 teaspoon salt
Mixing these dry ingredients well ensures that the baking powder distributes evenly. This step helps your scones rise nicely.
Incorporating Wet Ingredients
In a separate bowl, whisk together:
– 1/2 cup whole milk
– 1 large egg
Once blended, pour this mix into the dry ingredients. Gently fold the mixture with a spatula. Mix until just combined. Avoid overmixing, as this keeps the scones light and fluffy.
Shaping and Cutting the Dough
Turn the dough onto a floured surface. With floured hands, knead the dough gently just a few times. Shape it into a round disc about 1 inch thick. Use a floured cutter to cut out scones. Place them on the baking sheet with space between each.
Baking Time and Temperature
Bake the scones in the preheated oven for 15 to 20 minutes. They are done when lightly golden brown and well-risen. Keep an eye on them to avoid burning.
Cooling and Serving Suggestions
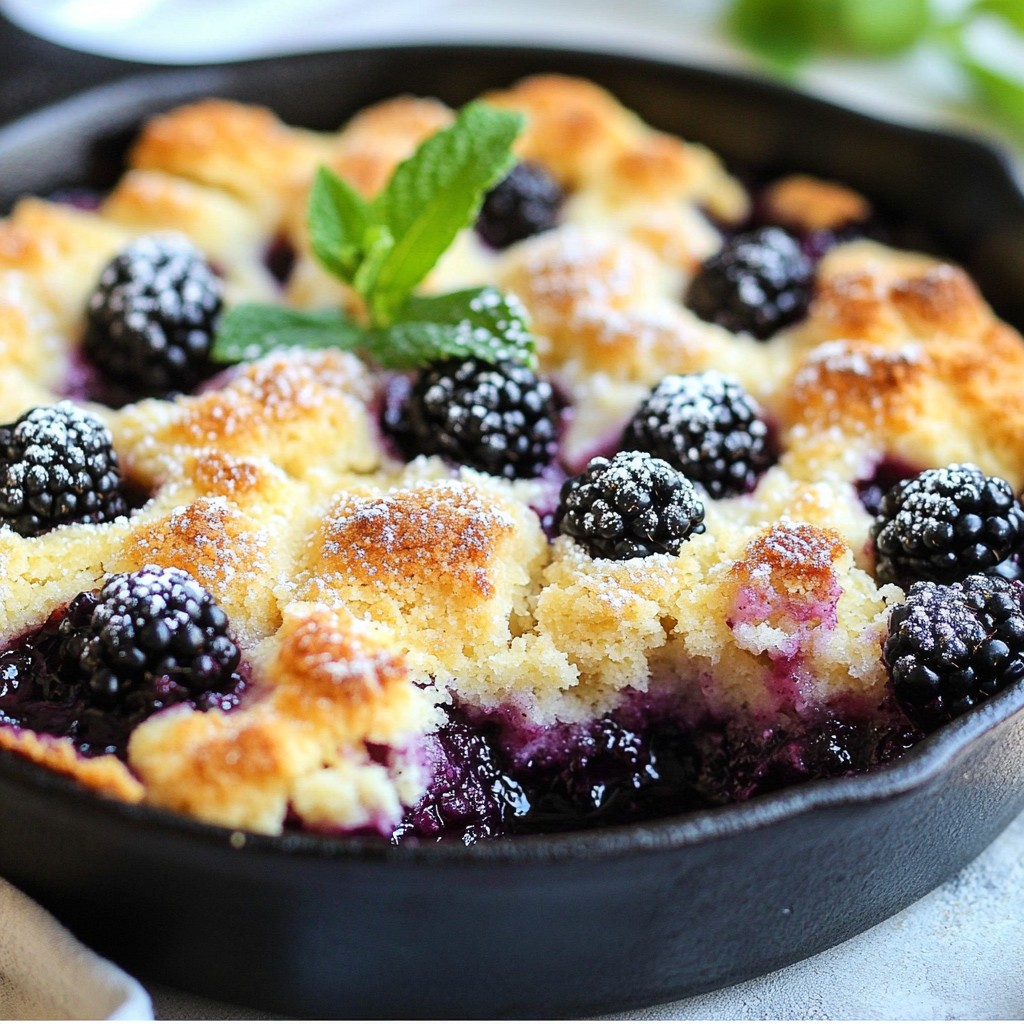
Once baked, take the scones out of the oven. Let them cool for a few minutes on the baking sheet. Then, transfer them to a wire rack to cool completely. Serve the warm scones with clotted cream and jam for a classic touch. For a fancy tea, arrange them on a tiered stand with fresh berries.
Tips & Tricks
Achieving the Perfect Texture
To get a light and fluffy scone, avoid overmixing the dough. Mix just until the wet and dry ingredients combine. This helps keep the scones airy. Use chilled butter; it helps create flaky layers. When rubbing butter into flour, aim for a coarse crumb, like sand.
Common Mistakes to Avoid
One common mistake is using warm butter. Always use chilled butter cut into small cubes. This helps achieve the right texture. Another error is overworking the dough. Knead gently and just enough to bring the dough together. Lastly, don’t skip the milk wash. Brushing the tops before baking gives the scones a lovely golden color.
How to Determine Doneness
Check the scones after 15 minutes of baking. They should be lightly golden and well-risen. Gently press the top; it should feel firm and spring back. If they look pale or soft, give them a few more minutes. Always trust your eyes and touch for the best results.
Pro Tips
- Keep Butter Cold: Ensure your butter is chilled before incorporating it into the flour mixture. This helps create flaky layers in the scones.
- Don’t Overmix: When combining the wet and dry ingredients, mix just until incorporated. Overmixing can lead to tough scones.
- Flour Your Cutter: Dust your scone cutter with flour before cutting to prevent the dough from sticking and ensure clean edges.
- Adjust Baking Time: Keep an eye on the scones towards the end of the baking time; ovens can vary, and you want them golden brown but not overbaked.
Variations
Fruity Scone Variations
You can add fun flavors to your scones. One popular choice is using raisins or currants. These tiny fruits add sweetness and a chewy texture. Just fold them in with the dry mix, and you’ll have a delightful burst of flavor in every bite. You can also try dried cranberries or chopped apricots for a twist. If you want a fresh taste, add lemon zest too. It brightens the scones and makes them extra special.
Savory Scone Ideas
Savory scones are a great option too. You can use cheese, herbs, or even bacon bits. For cheese scones, add sharp cheddar or feta. Mix in fresh herbs like rosemary or thyme for a tasty aroma. These scones pair well with soups or salads, making them perfect for lunch. Just remember to adjust the salt if you add salty cheese or bacon.
Creative Flavor Combinations
Don’t be afraid to get creative! Lemon and poppy seeds make a refreshing combo. The lemon gives a zesty kick, while the poppy seeds add crunch. You can also try orange zest with cranberries or even chocolate chips for a sweeter treat. The key is to balance flavors and keep it simple. This way, you can enjoy unique scones that impress your family and friends.
Storage Info
How to Store Leftover Scones
To keep your scones fresh, store them in an airtight container. This helps prevent them from drying out. Place a piece of parchment paper between layers if you stack them. This keeps them from sticking together. You can keep them at room temperature for up to two days. If you want to save them longer, refrigeration is an option. However, this may change their texture a bit.
Reheating Tips for Stale Scones
If your scones are a little stale, don’t worry. You can bring them back to life with heat. Preheat your oven to 350°F (175°C). Place the scones on a baking sheet. Cover them with foil to prevent drying. Heat for about 10 minutes. If you want a crispier edge, remove the foil for the last few minutes. You can also use a microwave. Heat each scone for about 15 seconds. Just remember, they may not be as crisp.
Freezing English Scones for Future Enjoyment
Freezing is a great way to save scones for later. First, let them cool completely. Wrap each scone tightly in plastic wrap. Then, place them in a freezer-safe bag. This helps prevent freezer burn. You can freeze them for up to three months. When you want to enjoy a scone, take it out of the freezer. Let it thaw at room temperature or reheat it directly in the oven. Enjoy fresh-baked taste anytime!
FAQs
What makes a scone different from a biscuit?
Scones and biscuits differ mainly in texture and ingredients. Scones have a denser and crumblier texture. They often use cream or milk, while biscuits rely on butter. Scones usually include sugar and sometimes dried fruits. In contrast, biscuits are often savory. This sweetness makes scones great for tea time.
Can I make these scones without baking powder?
Yes, you can make scones without baking powder, but they may not rise as much. You can use baking soda instead. If you do this, add an acid, such as buttermilk or yogurt. This will help the dough rise and keep it light.
How can I tell if my scones turned out correctly?
You can tell scones are ready when they are lightly golden brown. They should also feel firm and spring back when touched. If they look flat, they may need more baking powder next time. The inside should be soft and fluffy.
Can I substitute ingredients for dietary needs?
Absolutely! You can swap regular flour for gluten-free flour. Use plant-based milk instead of whole milk for a dairy-free option. If you want to skip sugar, try using honey or a sugar substitute. These changes can still create tasty scones.
You learned how to make authentic English scones. We covered essential ingredients, mixing steps, and baking tips. Quality ingredients and proper techniques are key to perfect scones. Don’t forget to experiment with flavors like fruity or savory options. Store your extras well to keep them fresh. Remember, practice makes perfect. Your scones will get better each time you bake them. Enjoy your scone journe